Three weeks after launch, the marketing manager opens Google Analytics and watches the line drop. Organic traffic is down 40%. The new site looks beautiful. The old URLs are gone. Nobody built the redirect map.
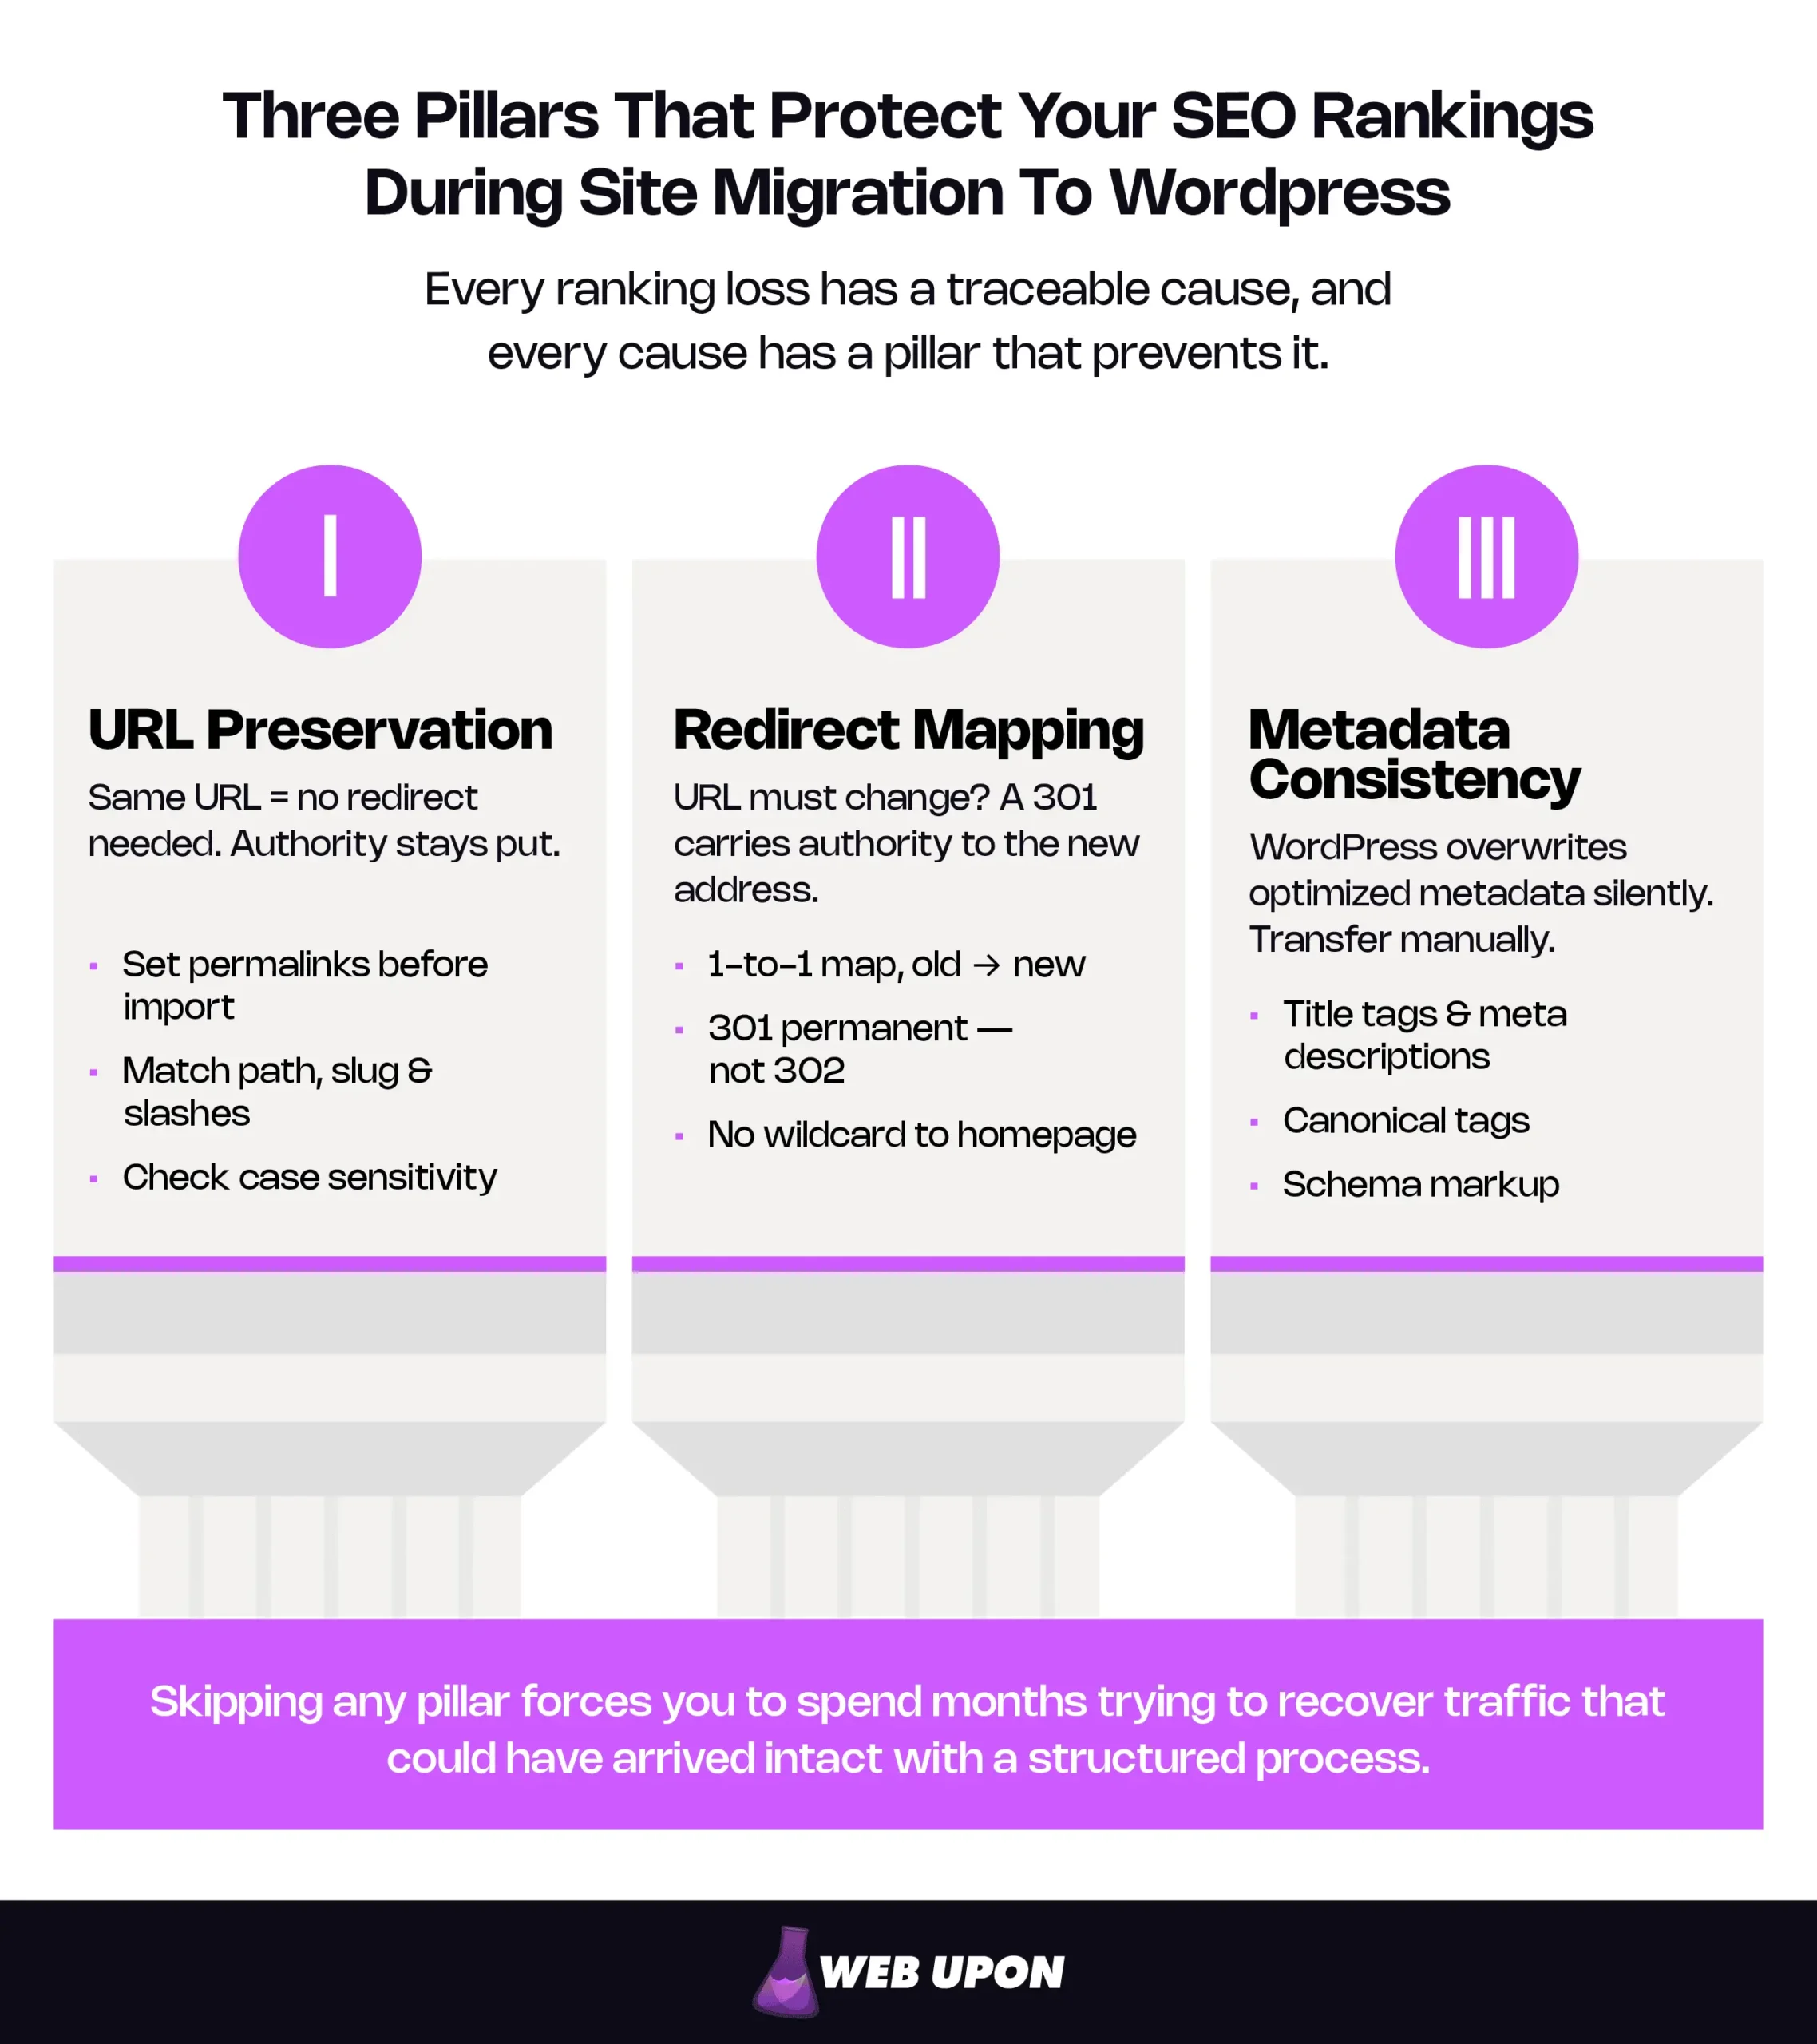
That story plays out more often than it should — and it is entirely preventable. A site migration to WordPress does not have to cost you your search rankings. It will not, provided you follow a structured process built around three non-negotiable pillars: URL preservation, redirect mapping, and metadata consistency. Get those right, and your organic traffic arrives at the new site intact. Skip any one of them, and you spend months trying to recover what you had.
Businesses that lose rankings during a migration do not lose them because migration is inherently risky. They lose them because they treated the move like a design project instead of an SEO project — launched something that looked right without confirming it was wired right. Google does not care about your new color palette. Google cares that the URLs it indexed still resolve, that the content it ranked still exists where it expects to find it, and that the signals it used to evaluate your pages survived the transition. Every ranking loss has a traceable cause (missing redirects, lost metadata, blocked crawling) and every cause has a prevention step.
Key Takeaways
- Three pillars protect your SEO rankings during migration: URL preservation, 301 redirect mapping, and metadata consistency. Get all three right, and your organic traffic transfers intact.
- Set your WordPress permalink structure before importing content. This single configuration step — thirty seconds of work — prevents the most common technical disaster in WordPress migrations.
- 301 redirects are the most critical technical operation. Every old URL that returns a 404 instead of redirecting loses its accumulated authority permanently.
- Post-migration monitoring is non-negotiable. A broken redirect caught on day two is a ten-minute fix. The same redirect caught on day forty is a months-long recovery.
- WordPress gives you more SEO control, not less. After migration, you gain flexibility over site speed, internal linking, schema markup, and Core Web Vitals that most legacy platforms restrict.
A site migration to WordPress is one of the most common — and most manageable — types of platform changes a business can make. WordPress powers 42% of the web for good reason: it is flexible, well-supported, and gives you far more control over the technical SEO levers that drive long-term growth.
This WordPress migration guide covers every phase — from pre-migration audit to post-launch monitoring — so you know what to do, when, and why. The framework applies whether you are moving from Magento, Shopify, Webflow, BigCommerce, HubSpot CMS, or virtually any other platform.
At a Glance: The Four-Phase Migration Framework
| Phase | What Happens | Key Outcome |
| 1. Preparation | SEO audit, full backup, staging environment setup, hosting and permalink configuration | Baseline documented, safety net in place, staging ready for testing |
| 2. Execution | Content and media migration, URL/permalink preservation, 301 redirects for changed URLs, metadata and schema transfer | All content live on WordPress with zero broken links and intact metadata |
| 3. Post-Migration Verification | Full site crawl, XML sitemap submission, backlink verification, traffic and ranking monitoring | Search engines re-index correctly, problems caught within days not weeks |
| 4. Long-Term Optimization | Site speed and Core Web Vitals, internal linking overhaul, ongoing SEO maintenance routine | Rankings stabilize and begin improving beyond pre-migration baseline |
None of them are optional. Here is how each one works.
Phase 1: Preparing for a Seamless Migration
Most ranking losses do not happen during a migration. They happen before it — in the preparation that was rushed or skipped. This is the first section of your CMS migration checklist, and it is the one that determines whether everything after it succeeds or unravels.
The work here is unglamorous: document everything you have, create a safety net, and build a testing environment where you rehearse the entire migration before anything goes live. Do this thoroughly, and the execution phase becomes methodical. Rush it, and you are troubleshooting blind.
Conducting a Pre-Migration SEO Audit
You cannot preserve what you have not documented.
The audit creates the baseline against which you will measure every post-migration metric — without it, you will have no way to tell whether a traffic change after launch is a migration issue or a trend that was already in motion.
- Start with analytics. Pull at least six months of organic traffic data from Google Analytics. Focus on top landing pages by organic sessions, highest-converting pages, and traffic trends. These are the pages that cannot break. If your site generates revenue from organic search, these pages are where that revenue lives.
- Move to Search Console. Export your top-performing queries and the pages ranking for them. Pay attention to average position, click-through rate, and impressions — not just clicks. A page sitting at position 8 with 50,000 monthly impressions is one optimization away from meaningful traffic. You need to know that page exists before you migrate, not after.
- Crawl and catalog your URL structure. Every live URL needs documenting — including parameter-based URLs, paginated series, and anything your current CMS auto-generates. Run a full crawl with a tool like Screaming Frog and export the complete URL list. This becomes the master reference for your redirect map. While you are in the crawl data, catalog all current metadata: title tags, meta descriptions, canonical tags, and Open Graph tags for every indexed page. This is the reference set you will use for a side-by-side comparison after migration.
- Map your internal link structure. Identify pages with the highest internal link equity — typically your category pages, pillar content, and top-level service pages. These pass authority to the rest of your site, so their link structures need to survive intact.
- Export your full backlink profile. Use Search Console’s links report and supplement with a crawl-based backlink tool. For each backlink, record the source domain, the target URL on your site, and the anchor text. These external links represent years of accumulated authority. If the URLs they point to return 404 errors after migration, that authority vanishes.
Here is the practical consequence of skipping any of this: without your URL inventory, you cannot build accurate 301 redirects — and search engines treat your new pages as entirely new content, erasing your existing authority. Without your metadata records, you will not notice when WordPress auto-generates generic titles and descriptions over your optimized ones. Without your backlink map, you cannot protect link equity that took years to earn.
Pre-Migration SEO Audit Checklist:
| Task | Tool / Method | Why It Matters |
| Export organic traffic data (6+ months) | Google Analytics | Establishes traffic baseline for post-migration comparison |
| Export top queries and ranking pages | Google Search Console | Identifies pages and keywords to protect |
| Full URL crawl and catalog | Screaming Frog or equivalent | Creates the master list for redirect mapping |
| Catalog all metadata (titles, descriptions, canonicals, OG tags) | Crawl export + manual spot-check | Prevents silent metadata loss during migration |
| Map internal link structure | Crawl data | Identifies pages with highest internal link equity |
| Export full backlink profile | Google Search Console + backlink tool | Protects external link equity from 404 errors |
Backing Up Your Entire Current Website
The backup serves two purposes, and most people only think about the first. Yes, if the migration fails catastrophically, you need the ability to restore the original site quickly. But the backup is also your reference copy — the source of truth you will use to verify content transferred correctly, confirm no pages were missed, and check that database records survived intact.
A full backup means everything: database tables (posts, pages, user accounts, settings, custom data), the entire file system (themes, plugins, uploads, media libraries), server configuration files (.htaccess or nginx rules, cron jobs, environment configs), and SSL certificates if they are server-bound rather than domain-bound.
Then verify the backup works. This step gets skipped with alarming regularity. Download it, attempt a restore in a test environment, confirm the site loads and functions. A backup file that produces errors on restore is not a backup. It is a liability disguised as one.
Store copies in at least two separate locations — local and cloud at minimum. If your hosting provider offers automated backups, do not rely on that alone. Hosting-level backups sometimes exclude databases or media folders without making that obvious.
Also export your analytics and Search Console data separately. Google Analytics retains historical data in your account, but if you lose access to the property or need to create a new one during migration, local exports of your key reports preserve your ability to compare pre- and post-migration performance accurately.
Setting Up a Staging Environment
A staging environment is a private copy of your site — a rehearsal space where you can run the entire migration without affecting your live site or search engine indexing. For any website replatforming project, this is where you catch problems that would otherwise surface in front of customers and Google simultaneously.
Mirror your production environment as closely as possible: same hosting configuration, same server settings, same PHP version, same resource allocation. If the staging environment runs on a different server stack than your final WordPress host, you risk discovering compatibility issues only after launch.
Block search engines from indexing the staging site, and use multiple layers. Set WordPress to “Discourage search engines from indexing,” add a noindex meta tag, protect the staging URL with password authentication, and add a Disallow: / rule in robots.txt. The belt-and-suspenders approach exists because any single method can fail on its own. A robots.txt block tells crawlers not to visit but cannot prevent indexing if Google discovers the URL through a link. A noindex tag prevents indexing but only if the crawler can access the page. Password protection keeps everything out.
Use staging to test the entire migration end-to-end before you touch the live site. Import content, configure permalinks, set up redirects, verify metadata. The staging site is your dress rehearsal. Do not skip it.
Choosing the Right Hosting and WordPress Configuration
Your WordPress host needs to support the PHP version your plugins require (PHP 8.3 or higher per current WordPress.org recommendations), deliver reliable uptime and fast server response times, provide SSL certificates, and ideally include server-level caching and CDN integration.
Server location matters more than people expect. If your audience is primarily in North America and your servers sit in Europe, you are adding latency to every page load. Choose a data center close to your primary audience, or use a CDN to offset the distance.
Now — the single most important technical step in the entire migration: set your WordPress permalink structure before you import any content.
WordPress defaults to /?p=123 — a query parameter with a post ID. Your current site almost certainly uses something different. If your existing URLs look like /blog/post-name/ and you import content before changing the permalink setting, WordPress assigns every piece of content a parameter-based URL. Every URL changes. Every internal link breaks. Your redirect map doubles in complexity. All because of a setting that takes 30 seconds to configure.
Before importing anything, go to Settings → Permalinks in WordPress and match your existing site’s URL pattern. If the old site uses /blog/post-name/, select “Post name” and add the /blog/ prefix as a custom structure. Match exactly, including trailing slashes. This is the highest-leverage technical detail in the whole process — thirty seconds of configuration that prevents weeks of cleanup.
Install essential plugins before content arrives as well. At minimum: a reputable SEO plugin for managing meta titles, descriptions, canonical tags, and schema markup, plus a redirect management plugin (or a plan to manage redirects at the server level via .htaccess). Configure and test both on staging before any content import.
With preparation complete, the hardest work is behind you. Everything from here is execution against the plan you just built.
Phase 2: Executing the Migration Step by Step
This is the operational core — the part that feels like moving day. Each task is sequential. Order matters. Skipping ahead creates problems that compound. Protecting your WordPress migration SEO starts with careful execution against the baseline you documented in Phase 1.
Migrating Content and Media Files
Export from the old CMS, import into WordPress. Simple in concept. The details are where things break quietly.
Export all content from your current platform: posts, pages, custom post types, taxonomies (categories and tags), and any structured content your CMS stores. The export method varies by platform, and the process has meaningful differences depending on where you are coming from.
Migrating from a specific platform? The process varies depending on your source CMS. For platform-specific guidance, see:
- Magento to WordPress
- Webflow to WordPress
- BigCommerce to WordPress
- HubSpot CMS to WordPress
- Shopify to WordPress
After import, verify meticulously. Check that text content transferred without formatting artifacts — broken HTML, missing characters, collapsed paragraph breaks, orphaned shortcodes from the old platform. Open at least 20–30 representative pages and compare side-by-side against the originals.
Images and media need their own pass. Confirm file paths are correct in the WordPress media library, that images actually display on the front end (not just in the admin panel), and that no media links still point to the old domain or CDN. One broken image is a footnote. Hundreds of broken images across your archive tell search engines the site is neglected.
Confirm that author attributions, publish dates, categories, and tags carried over accurately. Publish dates matter more than most people realize — they can influence how Google evaluates content freshness and relevance. If every post on your site suddenly shows today’s date, your evergreen content looks freshly republished, which can trigger ranking fluctuations while Google reassesses it.
Preserving Your URL Structure and Permalinks
If you keep the same URLs, search engines see the same pages at the same addresses with the same content. From their perspective, very little changed. That is the goal — and the simplest way to preserve SEO rankings during migration.
Compare your documented pre-migration URL structure against the WordPress permalink structure you configured during preparation. For most pages, the URLs should match. But edge cases always exist.
- Trailing slashes. If your old site used /about-us and WordPress generates /about-us/, that is technically a different URL. Most servers handle this with an automatic redirect, but verify explicitly for your top pages rather than assuming.
- Case sensitivity. URLs are technically case-sensitive in the HTTP specification, though most servers treat them as case-insensitive. If your old CMS generated /About-Us and WordPress normalizes to /about-us, confirm the resolution works.
- Query parameters. Anything with ?id= or &category= in the address is the hardest to preserve. WordPress does not natively use query parameters for content URLs, so these nearly always need redirects. Document every one of them.
For pages where the URL must change — because the old platform enforced a structure WordPress cannot replicate, like fixed Shopify paths — add them to your URL redirect mapping spreadsheet. A clean redirect is better than a forced URL hack.
The distinction matters: every URL you preserve is one less redirect you need to build and maintain. But when a URL genuinely cannot stay the same, a proper redirect picks up where preservation leaves off.
Implementing 301 Redirects for Changed URLs
A 301 redirect is a permanent forwarding instruction — a change-of-address form for web pages. It tells search engines that a page has moved permanently, and that the ranking authority (link equity) associated with the old address should transfer to the new one.
If URL preservation did its job, your redirect map should be manageable. Not the entire site — just the URLs that genuinely had to change. But this step remains the most technically critical operation for link equity preservation during any 301 redirect migration. For sites also changing domains during their CMS migration, redirect mapping becomes even more complex and more essential.
Build a comprehensive redirect map in a spreadsheet: Old URL, New URL, Priority. Prioritize by SEO value — highest-traffic pages and pages with the most backlinks first. If you can only test 50 redirects before launch, these are the 50 that matter.
Sample Redirect Map:
| Old URL | New URL | Priority | Status |
| /old-blog/post-name | /blog/post-name | High (top 10 traffic) | ✓ Tested |
| /collections/products | /shop/products | High (backlinks) | ✓ Tested |
| /resources/whitepaper-title | /resources/whitepaper-title | Medium | ✓ Tested |
Two implementation approaches: Server-level redirects through .htaccess (Apache) or nginx configuration files are fastest — the redirect fires before WordPress even loads, meaning zero performance overhead. The alternative is a WordPress redirect management plugin, which is easier for non-technical teams but adds a small processing step to every redirected request.
Whichever method you choose, use 301 status codes. Not 302. A 302 signals a temporary move — Google keeps the old URL indexed and may not consolidate ranking signals to the new destination, making it the wrong choice for permanent migrations. If you accidentally deploy 302s across your site, Google hangs onto your old URLs while your new pages build authority from scratch. Verify status codes with a browser extension, Screaming Frog, or a command-line cURL request.
Test every redirect individually. Confirm the old URL resolves to the correct new destination and returns a 301 status code. Automated testing handles bulk verification; manual spot-checks cover your top 20 pages.
Three common mistakes that cost rankings:
- Redirect chains — page A redirects to B, which redirects to C. While Google has confirmed that individual redirects do not dilute PageRank, chains create indirect problems — added latency, wasted crawl budget, and weakened canonical signals — that can harm your site’s performance and indexing efficiency. Always redirect from the original URL directly to the final destination.
- Redirect loops — page A redirects to B, which redirects back to A. The browser gives up after a few cycles and throws an error. Users see a broken page. Search engines see an unreliable site.
- Wildcard homepage redirects — sending all unmatched old URLs to the homepage. This feels like a safety net, but Google treats homepage redirects for non-homepage content as soft 404 errors. The old page’s authority is lost anyway. Map your redirects individually.
For Google’s own guidance on handling URL changes during a site move, see their official documentation on site moves with URL changes.
Transferring Metadata and Schema Markup
This is where migrations fail silently. The pages look right — content is there, layout is correct — but behind the scenes, the meta titles and descriptions Google uses to understand and display your pages have been replaced with WordPress defaults. Nobody notices for weeks. By then, rankings have already shifted.
Transfer all meta titles and meta descriptions explicitly, either manually or through your SEO plugin’s import function. Do not let WordPress auto-generate them. WordPress’s default behavior uses the post title as the meta title and either leaves the description blank or pulls the first sentence of content. Months of metadata optimization, gone without a visible trace.
Canonical tags need to transfer or be recreated. A canonical tag is a piece of code in the page header that tells search engines “this is the authoritative version of this page.” It prevents duplicate content issues. If your old site used canonicals to consolidate authority across similar pages, those relationships must survive the migration. Your SEO plugin handles this natively — verify the tags are generating correctly.
Schema markup — the structured data that helps search engines display rich results — rarely transfers automatically between platforms. If your old site carried FAQ, HowTo, Product, Organization, or LocalBusiness schemas, rebuild them in WordPress using your SEO plugin or a dedicated schema plugin.
Open Graph and Twitter Card tags are not ranking factors, but they control how your pages appear when shared on social media. A migration that strips your OG images and descriptions means every shared link shows a blank preview card.
For your top 20–50 pages, do a side-by-side comparison: old page source code (from your backup or a cached version) next to the new WordPress page source code. Confirm the metadata matches field by field. This catches problems automated tools sometimes miss — particularly schema markup that looks valid in a testing tool but is missing fields present on the original.
Phase 3: Post-Migration Verification and Monitoring
The new site is live. Pages are serving. Search engines are crawling. Now the work shifts from building to watching — post-migration SEO monitoring covers the first 30 days, the window where problems surface and quick action prevents lasting damage.
The difference between a site that migrates without losing SEO and one that hemorrhages traffic often comes down to what happens here. A broken redirect caught on day two is a ten-minute fix. The same redirect caught on day forty is a ranking loss that takes months to recover.
Crawling and Testing the New Site
Run a full site crawl immediately after launch. Use Screaming Frog or an equivalent to scan every URL and flag broken links, 404 errors, redirect issues, missing metadata, orphaned pages, and incorrect canonical tags. Compare the results against your pre-migration URL inventory. Every page that existed before should either live at the same URL or redirect to its new home. Anything else is a leak.
Test beyond what the crawler sees. Forms, interactive elements, e-commerce checkout flows, login systems, search functionality, JavaScript-rendered content — all of these can break during migration in ways a crawl does not detect. Walk through every conversion path the way a real visitor would.
Check robots.txt. This is the most common staging leftover: the staging site’s robots.txt blocked search engines with Disallow: /, and that rule carried over to production. One line. Your entire site invisible to crawlers. Five seconds to check, months of indexing to recover if you do not.
Verify the XML sitemap is accurate and contains only live URLs — no staging addresses, no 404s, no outdated redirect targets. Your SEO plugin generates it; your job is reviewing it before submission.
Test page load speed across devices. Migration frequently introduces performance regressions — unoptimized images, new theme code, different hosting configurations, heavy plugin scripts. Run your top pages through PageSpeed Insights and compare Core Web Vitals against your pre-migration baseline.
Submitting the Updated Sitemap to Search Engines
Once the crawl confirms the site is clean, submit your fresh XML sitemap to Google Search Console and Bing Webmaster Tools. If you changed domains (not just platforms), verify the new domain as a property in Search Console before submitting.
Request indexing for your most important pages — top traffic drivers, highest-converting pages, anything with significant backlinks. This does not guarantee faster crawling, but it signals priority to Google and typically accelerates re-indexing where it matters most.
Monitor the Coverage report in Search Console daily for two weeks. Watch for spikes in “Excluded” or “Error” categories, particularly “Crawled – currently not indexed,” “Not found (404),” and “Page with redirect.” A sudden increase in any of these after launch points to a systematic migration issue, not a one-off error.
Re-indexing takes time. Google will not re-crawl your entire site overnight. Large sites may need several weeks for full re-indexing — that is normal. What is not normal is previously indexed pages disappearing from the index entirely. That signals a redirect, canonical, or robots.txt problem requiring immediate investigation.
Verifying Backlink Integrity
Cross-reference your pre-migration backlink export against the live site. Every URL that had external backlinks should either exist at the same address or 301-redirect to the correct new location. Any high-value backlink resolving to a 404 is an emergency — link equity is actively draining every day it stays broken.
For your most valuable backlinks — the top 10–20 referring domains by authority and traffic — consider contacting the linking site directly to request a URL update. This eliminates the redirect hop entirely, preserves maximum link equity, and removes a long-term dependency on your redirect rules.
Monitor for new backlinks pointing to old URLs in the weeks after launch. Other sites may link to cached or archived versions of your old pages. As long as redirects remain active, these resolve correctly — which is one reason to keep redirect rules in place for a minimum of 12–24 months, and ideally indefinitely.
Monitoring Traffic, Rankings, and Indexing
Set up a post-migration monitoring dashboard and check it on a defined schedule:
| Metric | Tool | Frequency | Red Flag Threshold |
| Organic traffic | Google Analytics | Daily | >15% drop sustained for 7+ days |
| Keyword rankings | Search Console / rank tracker | Weekly | Top 20 keywords drop 5+ positions |
| Crawl errors | Google Search Console | Daily | Any increase in 404 or 5xx errors |
| Indexing status | Google Search Console | Daily | Pages dropping out of index |
| Page speed | PageSpeed Insights | Weekly | Core Web Vitals regression from baseline |
A temporary fluctuation of 2–6 weeks is normal. Google is re-processing your site and reconciling old and new versions. A small dip in the first week or two is not cause for alarm on its own.
A sustained drop is different. If organic traffic falls more than 15–20% and does not begin recovering within three to four weeks, something structural broke. Diagnose systematically: start with redirect accuracy (are top pages resolving?), then check metadata presence (did titles and descriptions survive?). If those are clean, move to crawl errors (404s, blocked pages) and staging leftovers (noindex tags, robots.txt blocks, canonical tags still pointing to the staging domain).
Pay special attention to Core Web Vitals. Migration can introduce performance regressions that affect both rankings and user experience — and Google’s page experience signals weigh these metrics directly.
If monitoring surfaces issues beyond your team’s expertise, Web Upon’s migration specialists can diagnose and resolve post-migration ranking drops before they become permanent losses.
Phase 4: Optimizing for Long-Term SEO Success
Traffic has settled. Redirects are working. The immediate risks are behind you. Now you get to the reason you migrated in the first place.
Whatever held your old platform back — rigid templates, slow page loads, limited SEO control, clunky content workflows — those constraints are gone. WordPress gives you the flexibility your old CMS withheld. This phase is where the migration starts paying back every hour you invested in it.
Improving Site Speed and Core Web Vitals
Speed is where WordPress migrations most often deliver immediate, measurable gains — particularly for sites leaving platforms with heavy, inflexible front-end code.
Caching works at multiple levels. Page caching stores fully rendered HTML so WordPress skips the database query on every visit. Object caching holds frequent queries in memory. Browser caching tells returning visitors to reuse static files already downloaded. Most quality WordPress hosts offer server-level caching; supplement with a caching plugin for finer control.
Image optimization often has the single largest impact on page weight. Compress existing images, convert to WebP format (25–34% smaller than JPEG at comparable quality, per Google’s compression study), and implement lazy loading so below-the-fold images wait until the user scrolls. For a media-heavy site, this alone can transform load times.
Render-blocking resources slow the initial paint. Defer non-critical JavaScript, inline critical CSS, and audit active plugins for unnecessary front-end assets. Every plugin can potentially inject CSS and JavaScript into every page — even pages where that plugin does nothing.
A CDN serves your static assets — images, stylesheets, scripts — from servers geographically close to each visitor, cutting latency regardless of where your origin server lives.
Test against Google’s Core Web Vitals benchmarks: LCP (Largest Contentful Paint) measures how quickly main content loads, INP (Interaction to Next Paint) measures responsiveness to user input, and CLS (Cumulative Layout Shift) measures visual stability during loading. These three metrics are Google’s published page experience signals, and improving Core Web Vitals after migration is one of the clearest wins WordPress offers.
For platform-specific speed optimization guidance, see:
- Magento to WordPress
- Webflow to WordPress
- BigCommerce to WordPress
- HubSpot CMS to WordPress
- Shopify to WordPress
Test mobile responsiveness on actual devices, not just browser emulators. Emulators approximate screen size but miss touch behavior, real-world network conditions, and device-specific rendering quirks. Two phones and a tablet — minimum.
Strengthening Internal Linking and Site Architecture
Migration is a rare opportunity to fix internal link structures your old CMS constrained. Most platforms limit how links are generated, where they appear, and how authority flows through the hierarchy. WordPress removes those limits.
Rebuild internal linking with one clear goal: every important page reachable within three clicks from the homepage. This is not arbitrary — it is a crawl depth threshold. Pages buried deeper get crawled less frequently, rank more slowly, and surface new content later.
Organize content into topic clusters that reinforce topical authority — clear category hierarchies, related post links, hub-and-spoke architecture. A well-structured WordPress site sends strong signals to search engines about what you are authoritative on.
Use descriptive, keyword-relevant anchor text. Audit for orphaned pages — pages with no internal links pointing to them. They exist in your sitemap but have no pathway for users or crawlers to reach them naturally. Technically present, practically invisible.
Establishing an Ongoing SEO Maintenance Routine
A successful migration is the beginning of a maintenance relationship, not the end of a project. WordPress makes this easier than most legacy platforms, but “easier” still requires intention.
- Quarterly technical audits at minimum: broken links, crawl errors, redirect chains that have accumulated, indexing issues. Sites are not static. New content, plugin updates, and server changes introduce new problems on a rolling basis.
- Keep software current. Outdated WordPress core, themes, and plugins create security vulnerabilities that can lead to malware injections — and Google flags compromised sites aggressively, displaying warning labels in search results that effectively remove them from useful organic traffic. Beyond security, updates frequently include performance improvements that affect page speed and functionality.
- Refresh high-performing content to maintain competitiveness. A page that ranked well two years ago may need updated data, fresh examples, or revised recommendations to hold its position against newer competitors.
- Update schema markup as your content evolves. New FAQ sections, changed business details, additional product lines — your structured data needs to reflect reality.
- Build internal links continuously. Every new blog post, service page, or resource is a chance to strengthen connections across your site and deepen the topical authority you are building.
Frequently Asked Questions About WordPress Site Migration
Will migrating to WordPress hurt my SEO rankings?
Not if you follow a structured process. The three essentials are proper 301 redirects for any URLs that change, preservation of your existing URL structure wherever possible, and consistent metadata transfer. A temporary fluctuation of 2–6 weeks is normal as search engines re-crawl the site. A sustained drop beyond that window indicates a missed step that needs investigation.
How long does a WordPress migration take?
It depends on size and complexity. A small business site under 100 pages can typically be migrated in 1–2 weeks, including preparation, staging, and post-launch monitoring. Larger sites with thousands of pages, complex redirects, custom functionality, or e-commerce data may take 4–8 weeks to complete properly.
Do I need to keep my old domain active after migrating?
If you changed domains, yes — keep the old domain active to host your 301 redirects. Those redirects need to stay live for at least 12–24 months, and many practitioners recommend keeping them indefinitely. If you migrated platforms but kept the same domain, this does not apply.
What is the most common cause of ranking loss after migration?
Missing or incorrect 301 redirects. When a ranked URL returns a 404 instead of redirecting to its new location, search engines treat it as deleted content and remove it from the index. The page’s accumulated authority disappears with it. This is why the redirect map and testing process are the most critical steps in the entire migration.
Can I migrate from Magento, Shopify, Webflow, or other platforms to WordPress?
Yes. Each platform has its own export process and specific considerations. Shopify’s URL structure uses prefixes like /collections/ and /products/ that do not exist in WordPress, so those always need redirects. Magento’s database structure is significantly more complex, requiring careful data mapping. Webflow exports are relatively clean but may need formatting cleanup. For platform-specific guidance, contact Web Upon’s migration services for Magento, Webflow, BigCommerce, and HubSpot CMS.
Should I hire a professional for my site migration?
For sites that generate significant revenue from organic search, professional migration support dramatically reduces risk. The cost of a specialist is measurable. The cost of a botched migration — lost traffic, lost leads, months of recovery — is often many times higher. A single missed redirect on a high-value page can cost thousands before anyone notices.
Bringing It All Together
The businesses that migrate well do not treat migration as a moment of risk. They treat it as the first step in getting more from their web presence than their old platform ever allowed. WordPress gives you the control. This guide gives you the roadmap. Every step has a purpose. Skip none of them.
Preparation documents what you have, backs it up, and gives you a staging environment to rehearse in. Execution moves content to WordPress with URLs preserved, redirects mapped, and metadata intact. Verification catches problems in days instead of months — full crawls, sitemap submissions, backlink checks, structured monitoring. Optimization delivers the payoff: faster load times, stronger site architecture, and a maintenance routine that keeps rankings growing instead of just surviving.
Ready to migrate without the risk? Web Upon has guided hundreds of businesses through seamless WordPress migrations.

